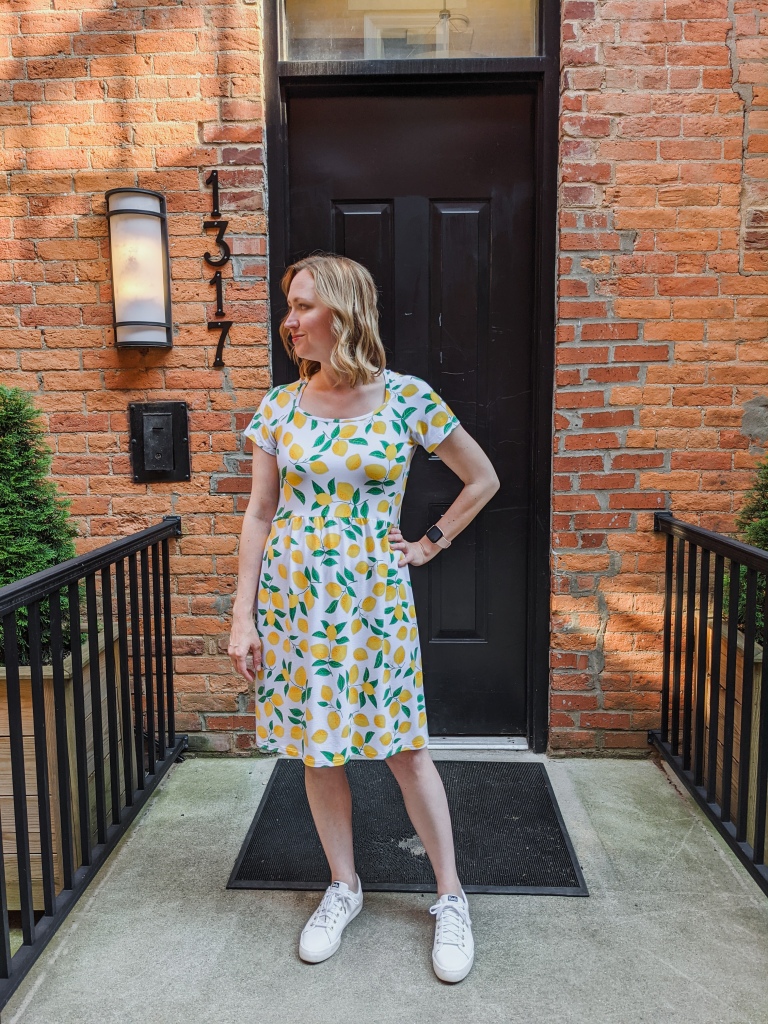
Pattern: Adrienne Blouse from Friday pattern Company
Fabric: printed dot jersey from Joann’s
Notes: This is the fourth pattern that I’ve made from Friday pattern company. They’re one of my favorite indies. They usually have good tutorials and instructions, and the styles appeal to me. They do have some drafting idiosyncrasies – two are a short torso length and rather square shoulders. Part of the appeal of making multiple patterns from one company is, for me, that you get to know the block they use and what your alterations are. I use a lot of big 4 patterns, and I generally know how to alter those to fit me without a muslin – not necessarily so for a new company!
When I printed this pattern out I was surprised to see that it’s really only three pieces – front/back, sleeves, and neckband. I’ve seen a lot of controversy about how patterns that are aimed at knits can differ from wovens. For instance, a symmetrical sleevecap is not generally desirable in a woven because we are not shaped symmetrically. But in a knit, that doesn’t really bother me. What does bother me, I’ve discovered, is using one piece for front and back.
I wear either a 34 D or 36 C bra (these are sister sizes, with the same size cup and differing bands.) I don’t usually need to make a Full bust adjustment to most patterns because my upper bust measurement is only an inch or two larger than my full bust. That’s an important distinction to understand. When we make a FBA, we are choosing a size that fits our shoulders and adding room for the bust. In my case, my shoulders and bust generally fit into the same size. I know, it’s a little odd, but sewing cup sizes are not the same as bra cup sizes.
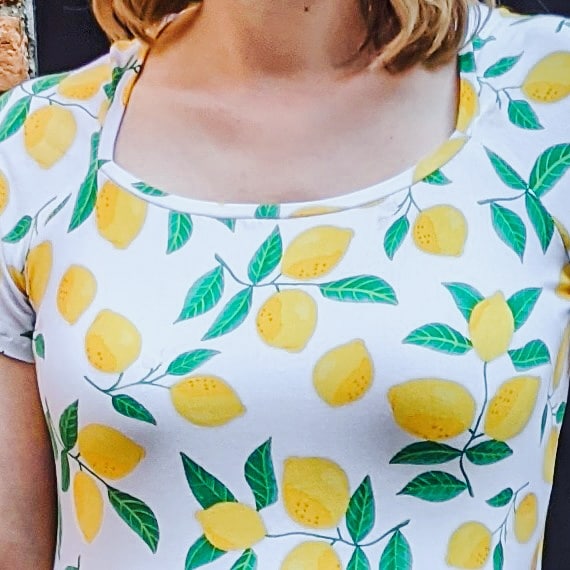
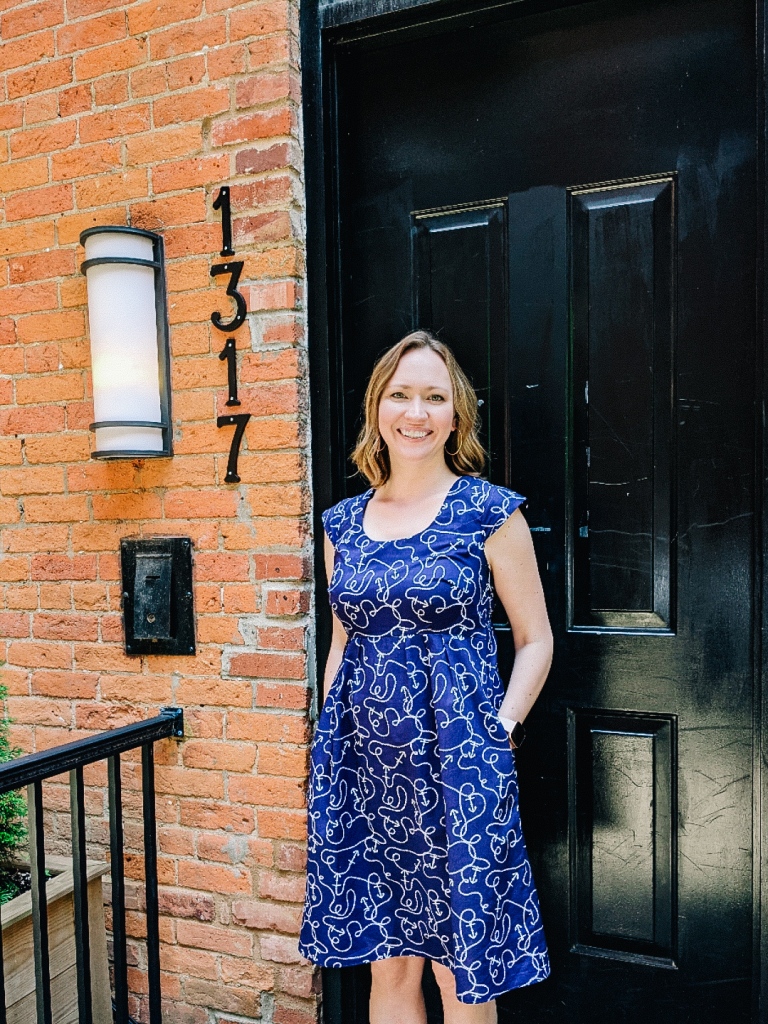
That’s all a long way of saying that I feel this pattern basically needs an FBA if you have any chest fullness at all. If your knit isn’t super stretchy it will be even worse. This isn’t a negative comment necessarily, and the pattern does include instructions for doing an fba, but I do think it would be a better pattern with separate front and back pieces. I did not do one, and while it fits my dressform above it’s clingy on me:

While my dressform and I have the same circumference, my bust is more projected. I don’t use it to fit on though, it’s mostly there to hold WIPs and take photos.
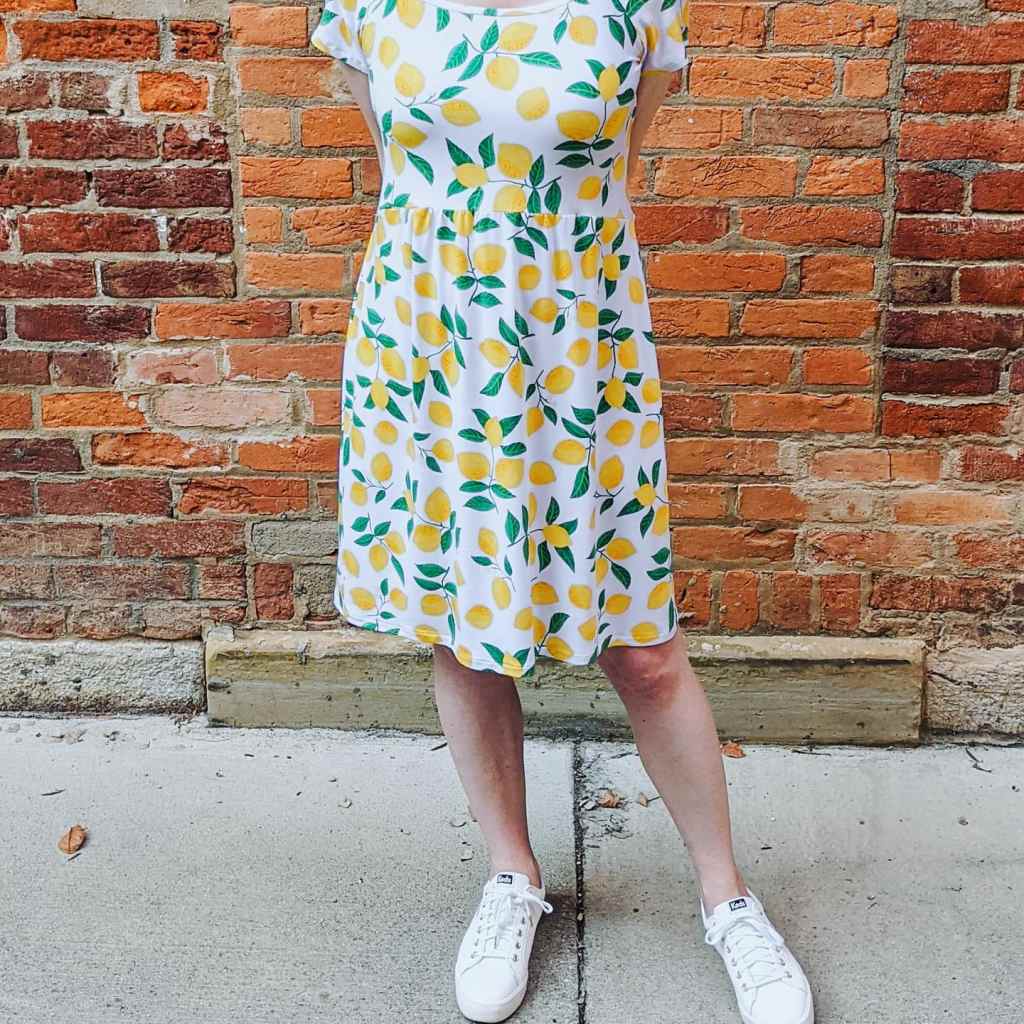
Other than the bust, I did think the pattern was solid. The sleeves are lovely, and I had no issues with the neckband width. I reduced the elastic length at the wrists and added two inches in length to the body, but otherwise it’s straight out of the package. My size is a medium, which I blended out to an xl for the waist. In my opinion it needed the length to be tucked in, but ymmv.
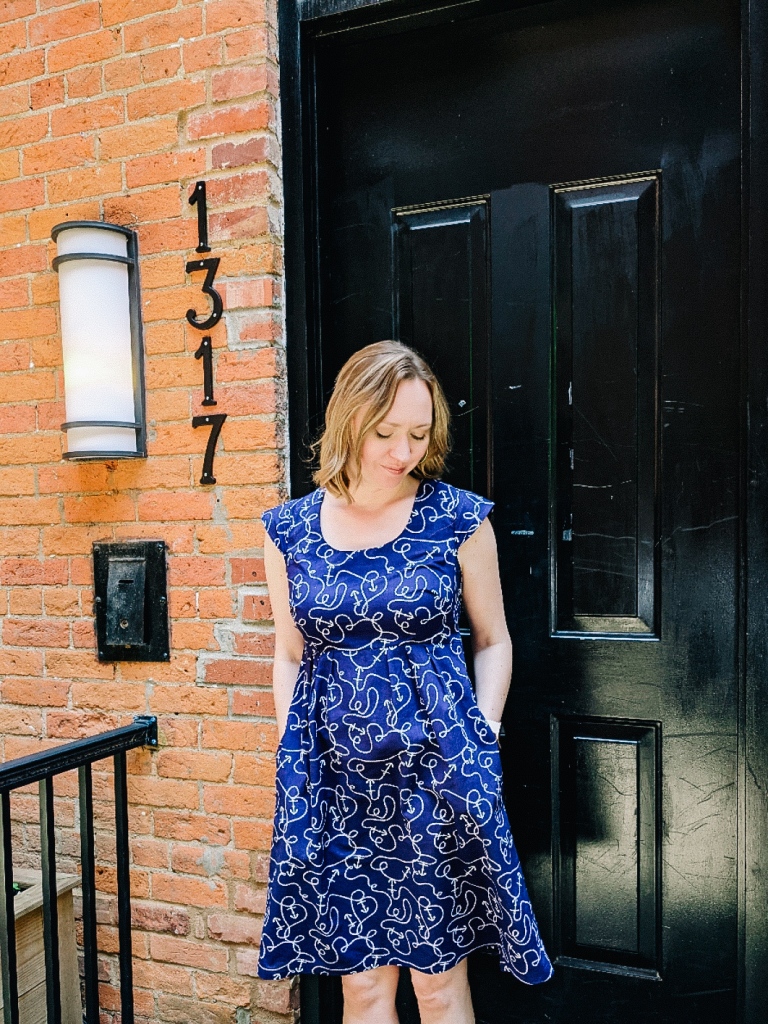
I’m currently working on a Simplicity pattern for wovens that is very similar. When I’m finished I will post my thoughts on the style!